A Beginner’s Guide to Time Laspe Videos
Crafting Time-Lapse Vignettes: A Photographer’s Playbook
I’ve always been enchanted by the dance of time, especially when it’s captured frame by frame and woven into the fabric of time lapse videos. It’s an art form that condenses hours into seconds, unveiling the subtle rhythm of our world. Today, I’m going to walk you through the process, step by step, with detailed instructions and examples, so you can master the craft of time lapse videography.
Embracing the Art of Time Compression
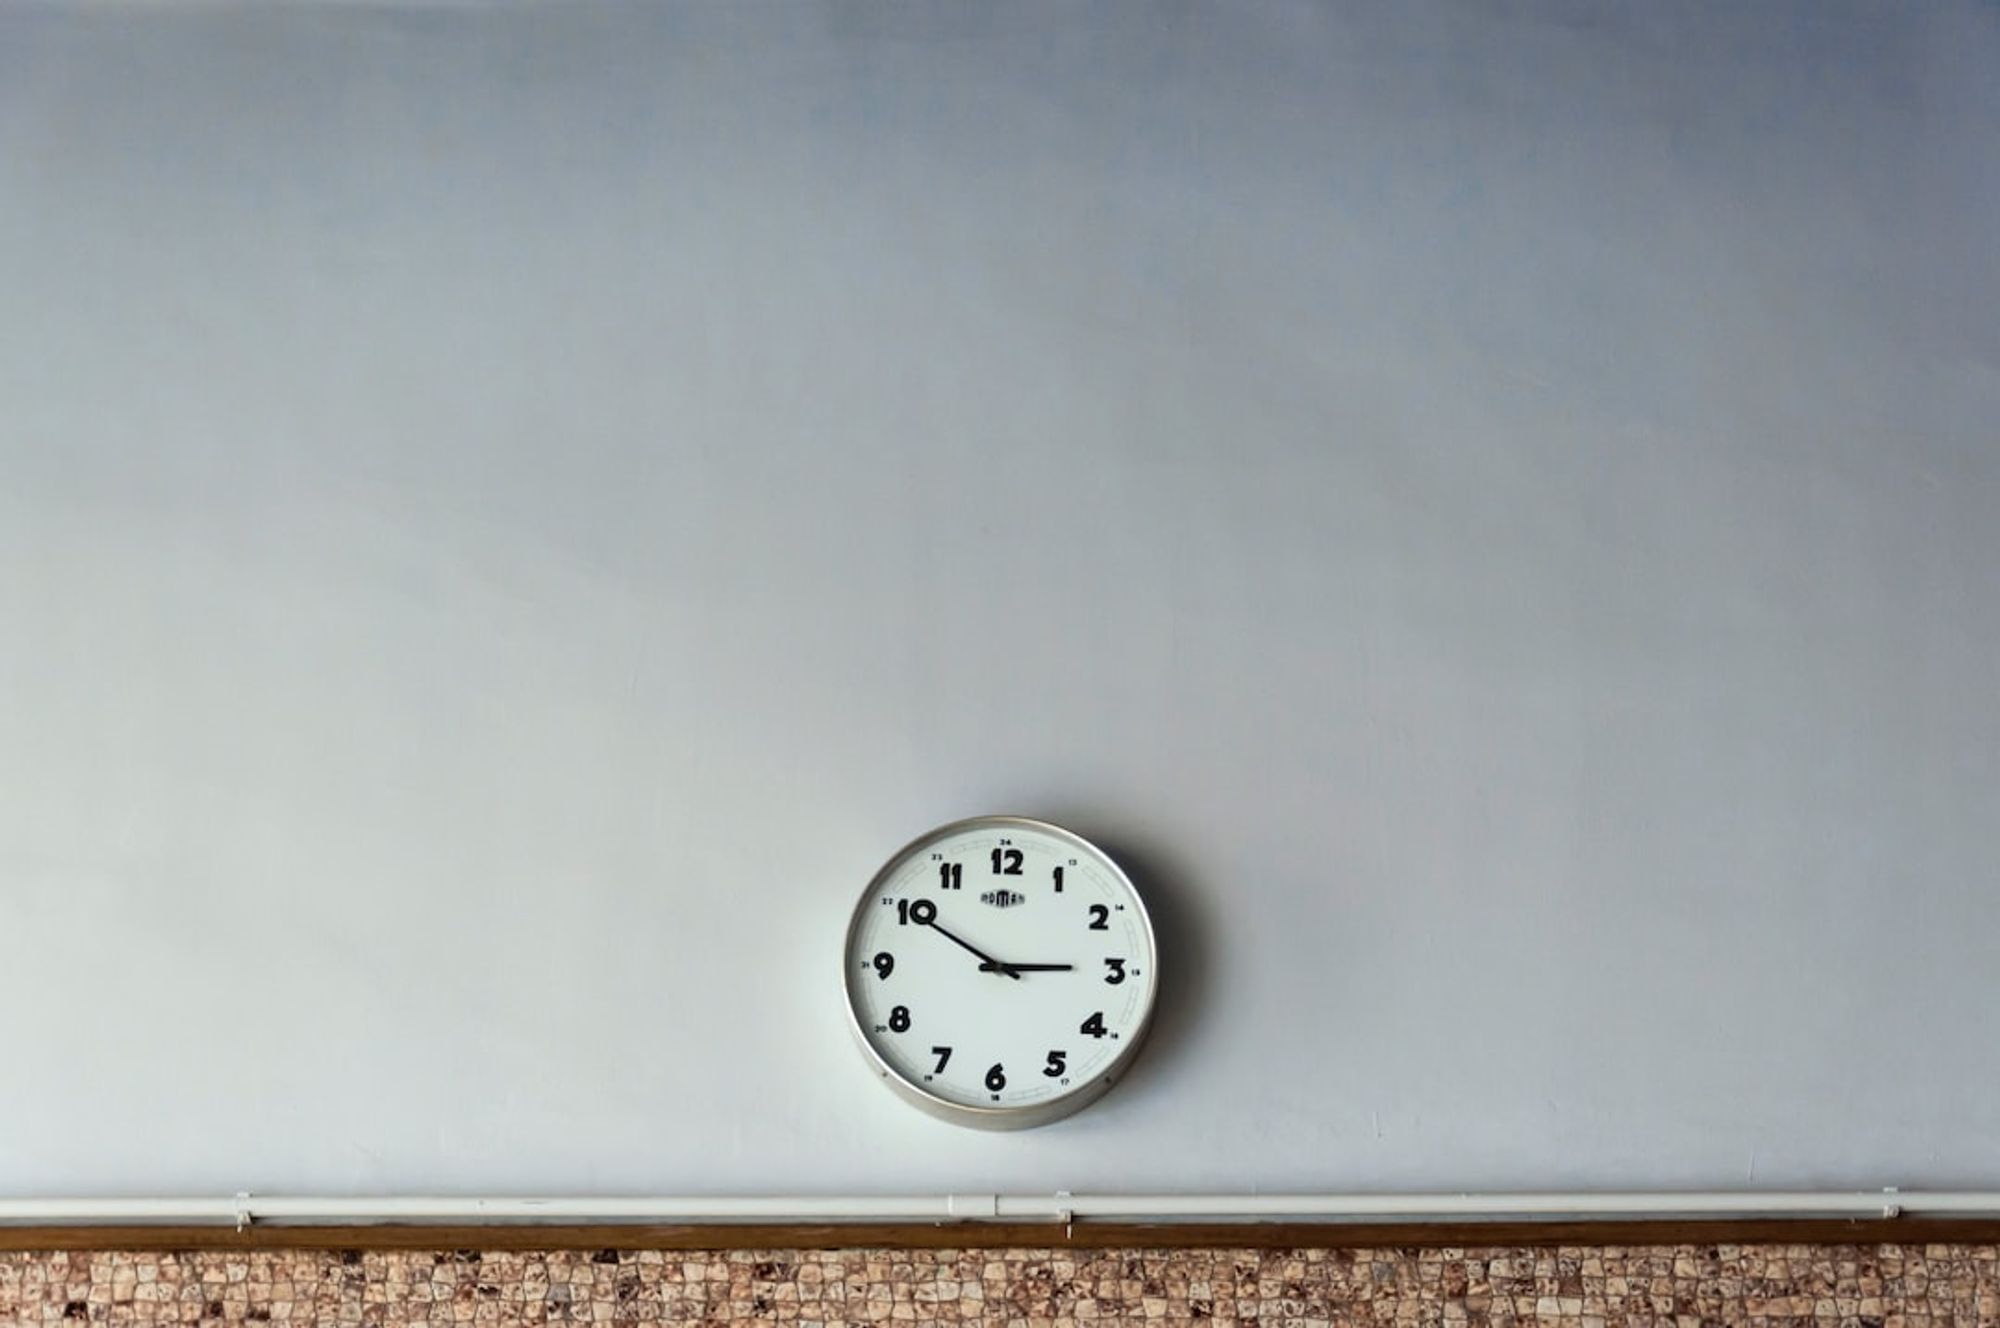
Let’s begin with the basics of time-lapse — it’s about bending time to our creative will. I take a sequence of images at regular intervals, say every 5 seconds, and upon playback, these stills sprint through time, giving the illusion of life sped up. It’s an extraordinary way to capture a flower blooming, the ceaseless churn of the stars, or the frenetic pace of city life.
Step 1: Assemble Your Toolkit
You might think you need high-end gear for time-lapse photography, but that’s not necessarily true. Many smartphones are equipped to handle the task. However, for that professional touch, here’s what you’ll need:
- A sturdy tripod to eliminate any movement between shots.
- A remote shutter release minimizes camera shake when capturing images.
- Optionally, a mirrorless camera can provide superior image quality over a smartphone.
Step 2: Select Your Muse
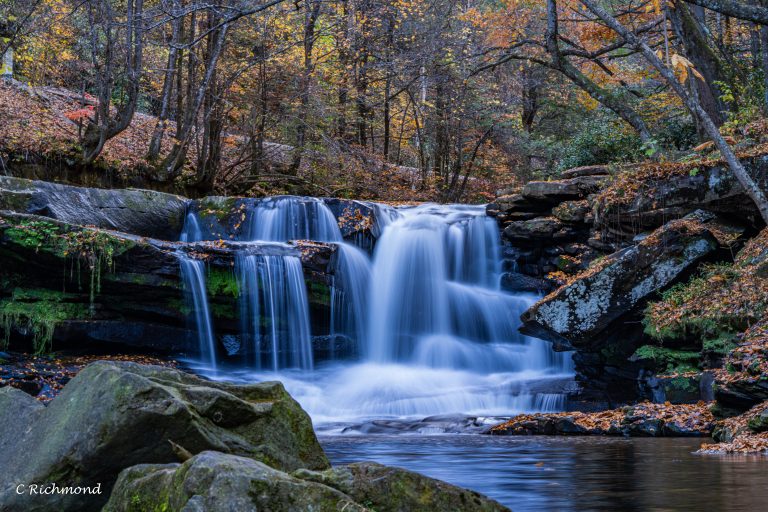
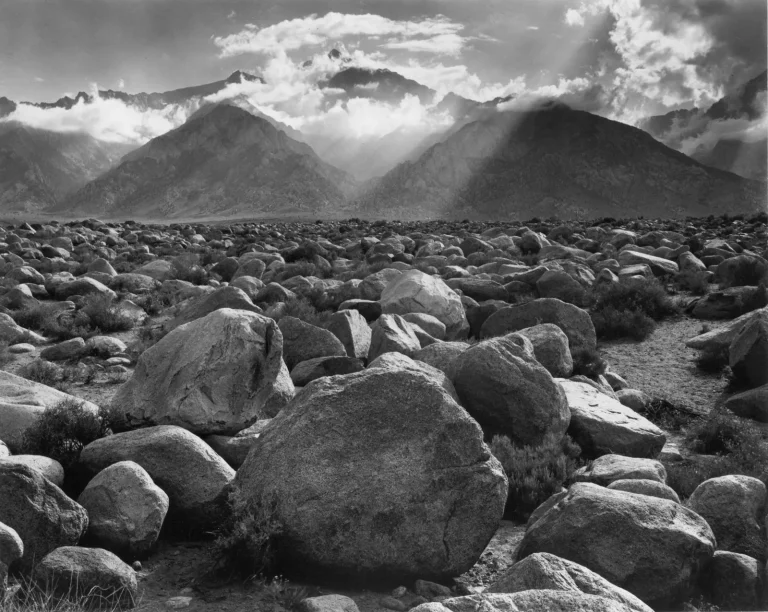
What makes a compelling time lapse? Movement. Select a subject that unfurls or alters with time. The undulating grace of a daybreak, a bustling street corner, or the steady construction of a skyscraper all serve as magnificent subjects.
Step 3: Stabilize and Frame Your Shot
Now, let’s set up your camera:
- Anchor your camera to a tripod, making sure it’s secure.
- Compose your shot. Peer through the viewfinder or screen and ensure your subject is well-framed.
- Dial in your camera settings. Opt for manual mode to keep exposure and focus consistent throughout the shots.
- If available, use an intervalometer or your camera’s built-in time lapse function to automate the shooting process.
Step 4: The Art of Sequencing
With your collection of images in hand, it’s time to bring your time lapse to life.
- Transfer your images to a computer and employ editing software like Adobe Premiere Pro or a simpler tool if you prefer.
- Sequence your images and decide on the playback speed; this determines the flow of your time lapse.
- Feel free to add a soundtrack or effects to enhance the viewing experience.
Step 5: Broadcast Your Vision
With your video complete, showcase it. Platforms like Instagram and YouTube are great stages for your work. Remember to tag your video appropriately to capture the audience it deserves.
Remember, the beauty of time-lapse photography lies in experimentation. Try different subjects, play with capture intervals, and above all, infuse your personal touch into each frame. Now, go forth and compress time, capture beauty, and share the unfolding story that only your lens can tell. Happy shooting!