A Beginner’s Guide to Aperture, Shutter Speed, and ISO in Photography
The world of photography is filled with complex technicalities, but three elements – aperture, shutter speed, and ISO – stand out as the pillars of this art form. Known as the “Holy Trinity” of photography, understanding these components can vastly improve one’s creative output and help in capturing photos that tell compelling stories.
Understanding Aperture: The Eye of Your Camera
What is Aperture?
Much like our eyes adjust the amount of light that enters, the aperture of a camera dictates how much light is allowed in. It’s an opening in the lens that can be made larger or smaller, and it’s fundamental in achieving the right exposure and desired depth of field.
The Aperture Scale and F-Numbers
The size of the aperture is represented by f-numbers, often called f-stops. Lower f-numbers (e.g., f/1.8) indicate wider apertures, allowing more light in, while higher numbers (e.g., f/16) signify narrower openings.
Depth of Field and Aperture
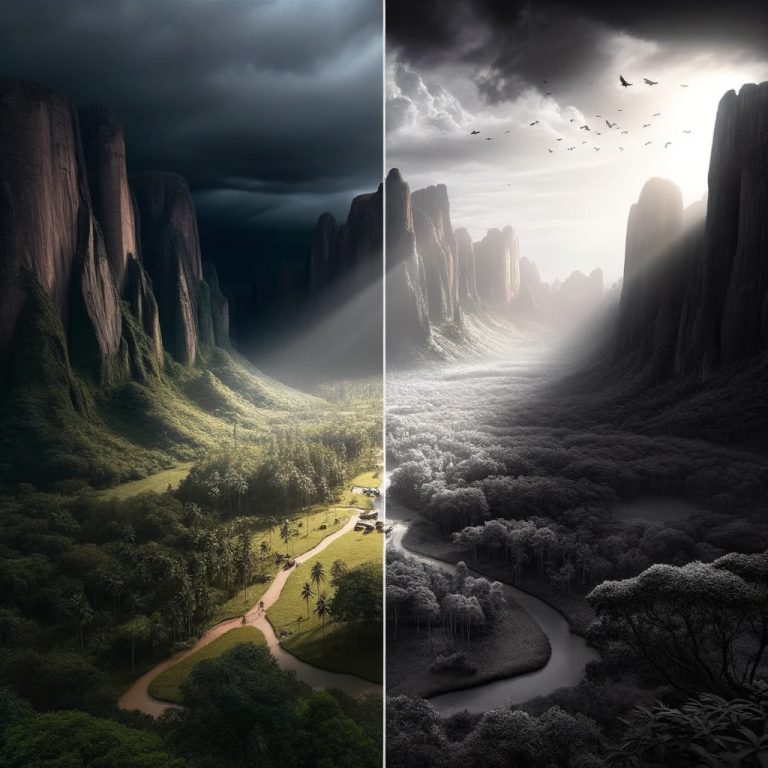
By adjusting the aperture, you also control the depth of field, which is the portion of the scene that appears sharp. Wider apertures produce a shallower depth of field, making the subject stand out against a blurred background, while narrower apertures provide a more extensive, focused area.
Creative Uses of Aperture
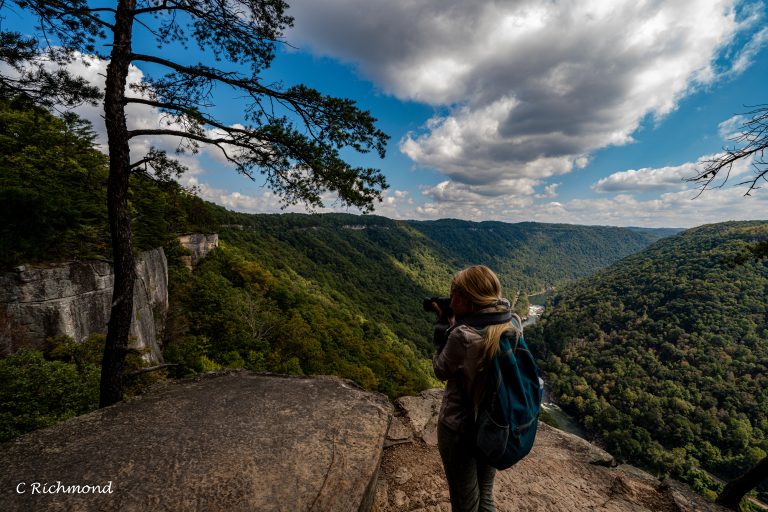
Mastering aperture settings allows for expressive creativity. Wide apertures can highlight a subject in portraits, while smaller ones can capture vast landscapes in sharp detail.
Shutter Speed: Controlling Time and Motion
The Basics of Shutter Speed
Shutter speed is all about the duration for which the camera’s sensor is exposed to light. Think of it as a curtain that opens and closes – the quicker it does so, the less light is let in.
Shutter Speed Values and Their Meaning
Expressed in fractions of a second, shutter speed values range from fast (like 1/2000 sec) to slow (such as 2 sec). The longer the shutter is open, the more light it captures.
Motion Blur and Freezing Action
Shutter speed also affects the portrayal of movement. Fast speeds can freeze rapid actions, capturing fleeting moments, while slower ones introduce motion blur, rendering a sense of movement and dynamism.
Using Shutter Speed Creatively
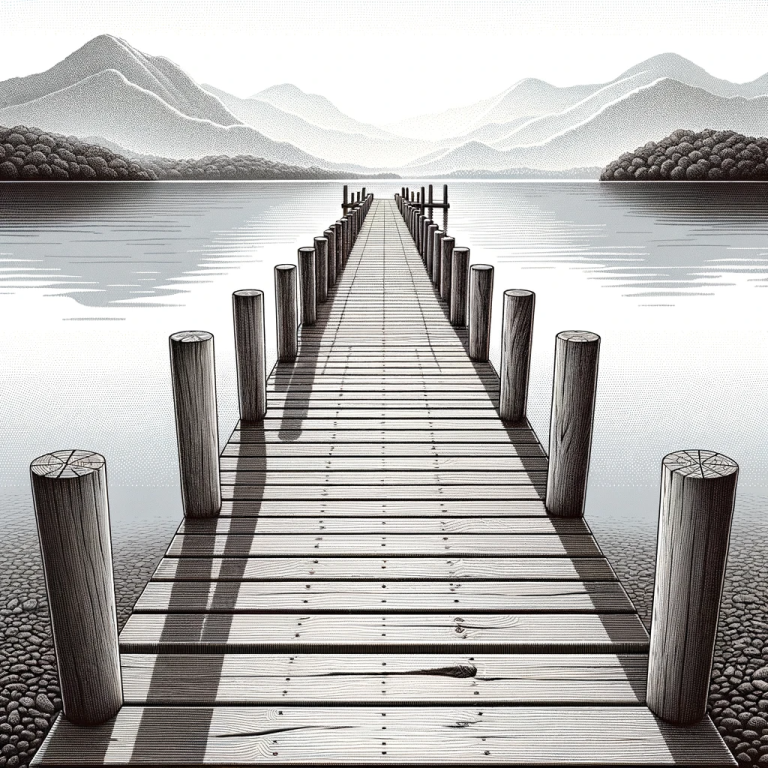
Playing with shutter speed can lead to creative outcomes. Slow speeds can make cascading water appear silky, while fast ones can crystallize the flapping of a bird’s wings.
ISO: Balancing Light Sensitivity
What is ISO?
In simple terms, ISO measures the sensitivity of your camera’s sensor to light. Lower values (e.g., ISO 100) mean less sensitivity and are ideal for brighter conditions, while higher values (e.g., ISO 3200) are suitable for dim situations but come with a trade-off.
Common ISO Values and Their Effects
Most cameras offer a range of ISO settings. As you increase the ISO, you’ll notice your photos becoming brighter, but this can lead to a grainy appearance, known as “noise.”
Grain and Noise at High ISOs
The downside to high ISO values is the introduction of digital noise, which can detract from image clarity. It’s essential to strike a balance to maintain image quality.
Best Practices for Choosing ISO
In most situations, it’s advisable to keep ISO as low as possible. However, in low light scenarios where using a flash isn’t desirable, a higher ISO can be a savior. Always review images for noise when shooting at elevated ISOs.
Bringing It All Together: The Exposure Triangle
The Relationship Among Aperture, Shutter Speed, and ISO
Aperture, shutter speed, and ISO collectively determine a photo’s exposure. Imagine them as the three vertices of a triangle, where adjusting one affects the others, making it imperative to understand their interplay.
Practical Scenarios and Settings
For instance, on a bright sunny day, a narrow aperture, faster shutter speed, and lower ISO would be ideal. Conversely, in a dimly lit room, you might opt for a wider aperture, slower shutter speed, and higher ISO to capture a well-exposed shot.
Stepping Out of Auto Mode: Embracing Manual Control
The Advantages of Shooting in Manual Mode
Breaking free from auto mode offers unparalleled control, allowing photographers to mold images precisely as they envision, fine-tuning settings to cater to varied scenarios.
Tips for Beginners Transitioning to Manual
Start with one component at a time. For example, experiment with aperture in Aperture Priority mode, letting the camera decide other settings. Gradually, as you become confident, take complete control in Manual mode.
Conclusion: The Journey from Novice to Pro
Every accomplished photographer was once a beginner. With patience, practice, and a deep understanding of the trinity of aperture, shutter speed, and ISO, the journey from novice to pro becomes an enriching experience filled with growth and beautiful captures.